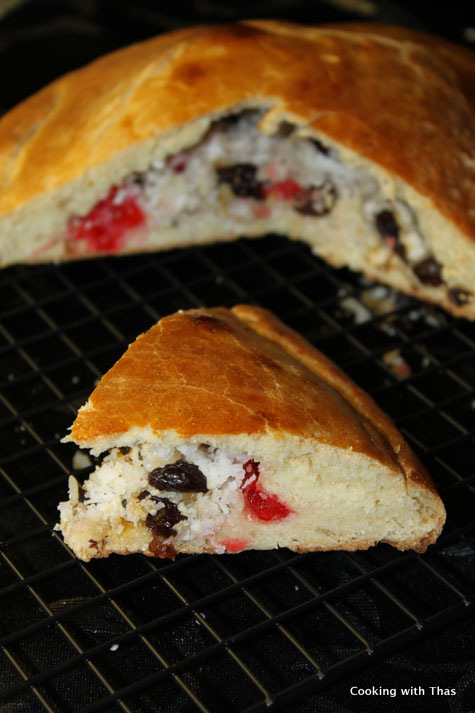
Dilkush in Hindi means: “heart is happy” (Dil=heart and Kush=happy), after tasting this homemade dilkush my heart was filled with happiness…
A nostalgic pastry! I have had this pastry while growing up in Kerala, it’s sold at most bakeries in my hometown. It’s also available in some bakeries in Tamil Nadu. I didn’t grow up enjoying a whole lot of homemade pastries as baking wasn’t that common in my family nor in my hometown back then. So, whenever we got the pastry craving, we would rush to the nearest bakeries. One of the pastries that I often used to enjoy was this Dilkush. I lack words to describe the taste of this particular pastry. It’s like a large round bun stuffed with sweet filling; the pastry or bun is so soft, fluffy, and has a spongy texture and the sweet filling makes it taste even more delicious. It’s usually cut into triangular slices, sold as slices or as a whole pastry. We always used to buy the whole pastry as after enjoying a single slice we would certainly long for more. It’s truly hard to resist and sometimes I got so greedy that there were times when I’d finished up the whole dilkush in a single sitting.
Last weekend, I had a sudden craving for dilkush. I haven’t had this pastry for a very long time and haven’t seen this being sold at any Indian stores in the US or Canada. I somehow couldn’t remember the name of this pastry and that thought was bugging me a lot. I phoned my mom, woke her up from her sleep as it was night in India and asked the name of the pastry that I loved the most while in India. She replied right away: It’s Dilkush.
I can’t remember the number of times I had woken my mom up from her sleep to get recipes, measurements and names of dishes. She never hesitates! Mom’s are the best and daughters are so mean 🙂
I wasn’t sure about the exact recipe for making dilkush so I had to do some research before giving it a try. I. As it’s a yeast-based pastry, had to let it rise for 2 hours. After it was placed in the oven, I kept pepping through the oven window and eagerly waited to taste it. As it came out of the oven, I was speechless it looked exactly like the bakery-bought ones. Before letting it cool down, I did take a small bite of it. I stood stunned, it tasted very very close to the ones that are sold at the bakeries, even the aroma and the texture of this dilkush was just phenomenal.
If there’s anyone who is looking for the recipe for making delicious dilkush, this is the one, you would be lost in your nostalgic thoughts…
Modifications I’ve made from the original recipe
- I only made 1 batch, double the recipe to make more.
- I had to bake for 32 minutes to get a nice golden color on the dilkush. First, bake for 20 minutes and check if it has baked well, if not increase the time accordingly. Don’t bake it for too long as it will turn hard.

- All-purpose flour or Cake/pastry flour- 2 cups
- Warm milk- ½ cup
- Sugar- ¼ cup
- Active dry yeast- ½ tbsp
- Oil- 1 tbsp
- Egg- 1
- Salt- ¼ tsp
- Flattened rice or aval- ⅓ cup sprinkled with 2 tbsp water to make it soft
- Coconut grated- ⅓ cup
- Raisins- ⅓ cup
- Cashew nuts, small pieces- 2 tbsp
- Cherries chopped, glazed ones- 2 tbsp (or add tutti frutti)
- Ground cardamom- ¼ tsp or smash 2 whole cardamom without skin (don't ignore this, imparts the aroma)
- Sugar- 2 tbsp
- Egg- 1
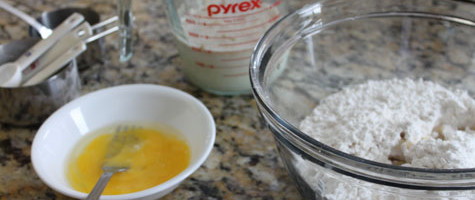
- In a bowl, add warm milk, sugar and add yeast to it, let stand for 5 minutes.
- In another bowl, combine flour and salt.
- Add the egg, combine using a fork or spoon.
- Add oil, combine well.
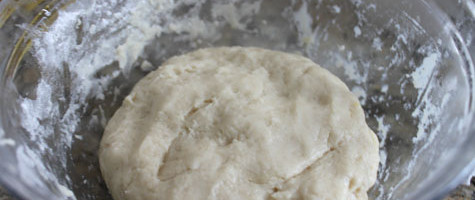
- Add the yeast mixture, combine well using your hands. It will be a sticky dough.
- Knead well for a couple of minutes. If it's sticky you can add 1 to 2 tbsp more flour. Don't add more flour to make a hard dough, the dough should be soft and smooth.
- Keep aside for 2 hours in a warm place.
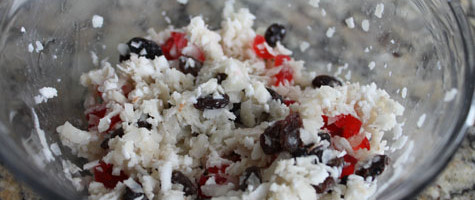
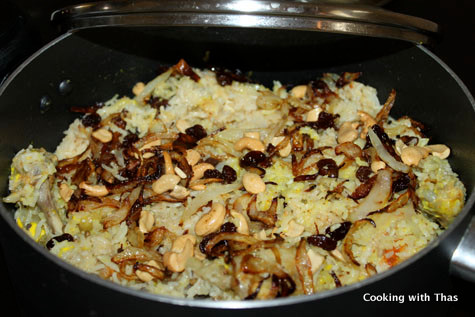
- In a bowl, combine all the above mentioned ingredients "for making the filling", keep aside.
- Preheat oven to 375 F or 190 C.
- After 2 hours, the dough will rise to double in size.
- Make 2 equal sized balls out of it.
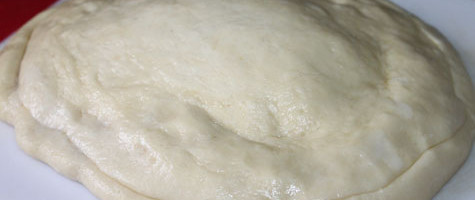
- On a clean surface, grease with oil and roll one of the dough balls to round size: ½ inch thick.
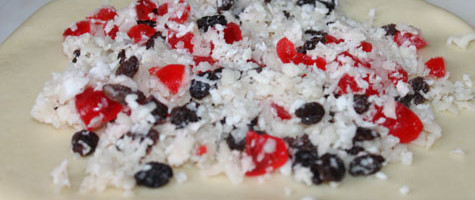
- Spread the prepared filling evenly over the dough, leave some space at the ends.
- Roll the second dough ball to the same size as the first one.
- Cover over the sweet filling and seal the edges tightly.
- If you don't seal the edges properly it will open up while baking.
- In a bowl, beat 1 egg well using a whisk.
- Using a pastry brush, spread the beaten egg over the top of the dough.
- Let stand for 15 minutes.
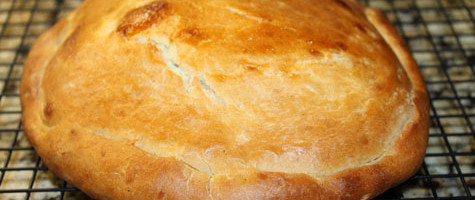
- Line a baking sheet with parchment paper, carefully place the prepared pastry over it and bake for 25 to 30 minutes, till the top has turned golden brown in color.
- You can first bake for 20 minutes, check if it's done and again bake for a few more minutes.
- Don't over bake as it will turn hard.
- Take the baking sheet out of the oven, let cool down on a wire rack for 15 minutes.
- Using a sharp knife, cut into wedges and serve.
- This can be stored for 3 to 4 days in an air-tight container. I assure you that there will not be any leftover. It's that Yummy!
Step by step Pictures